Ultimate Guide to Designing Your 2004 Dodge Sprinter 2500 140WB High Roof Camper Van Layout
- John Michel
- Aug 24, 2024
- 5 min read
Updated: Aug 24, 2024
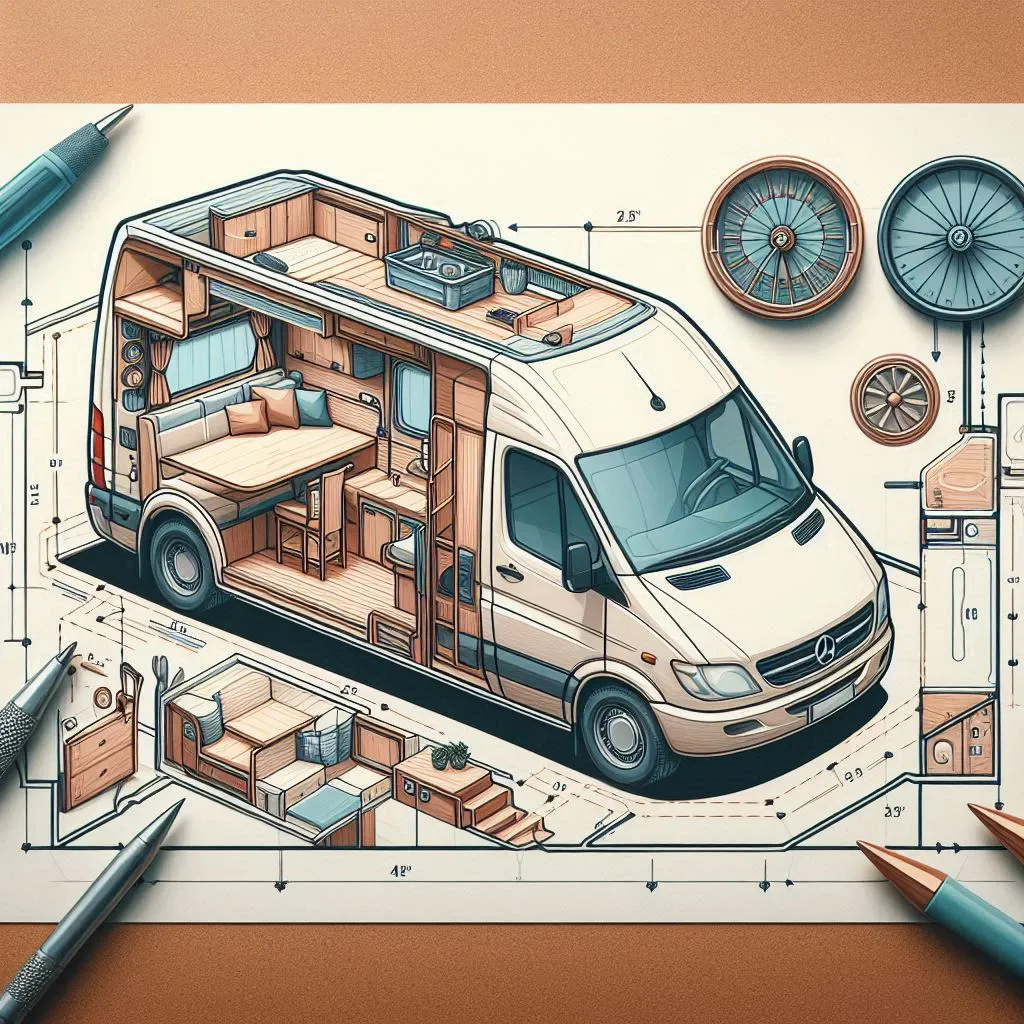
Converting a 2004 Dodge Sprinter 2500 140WB High Roof into a camper van can be an exciting yet challenging endeavor. With its unique dimensions and potential for customization, this van offers a blank canvas for a camper conversion. In this guide, we'll cover everything you need to know to create the perfect camper van layout, maximizing space and functionality while keeping comfort and style in mind.
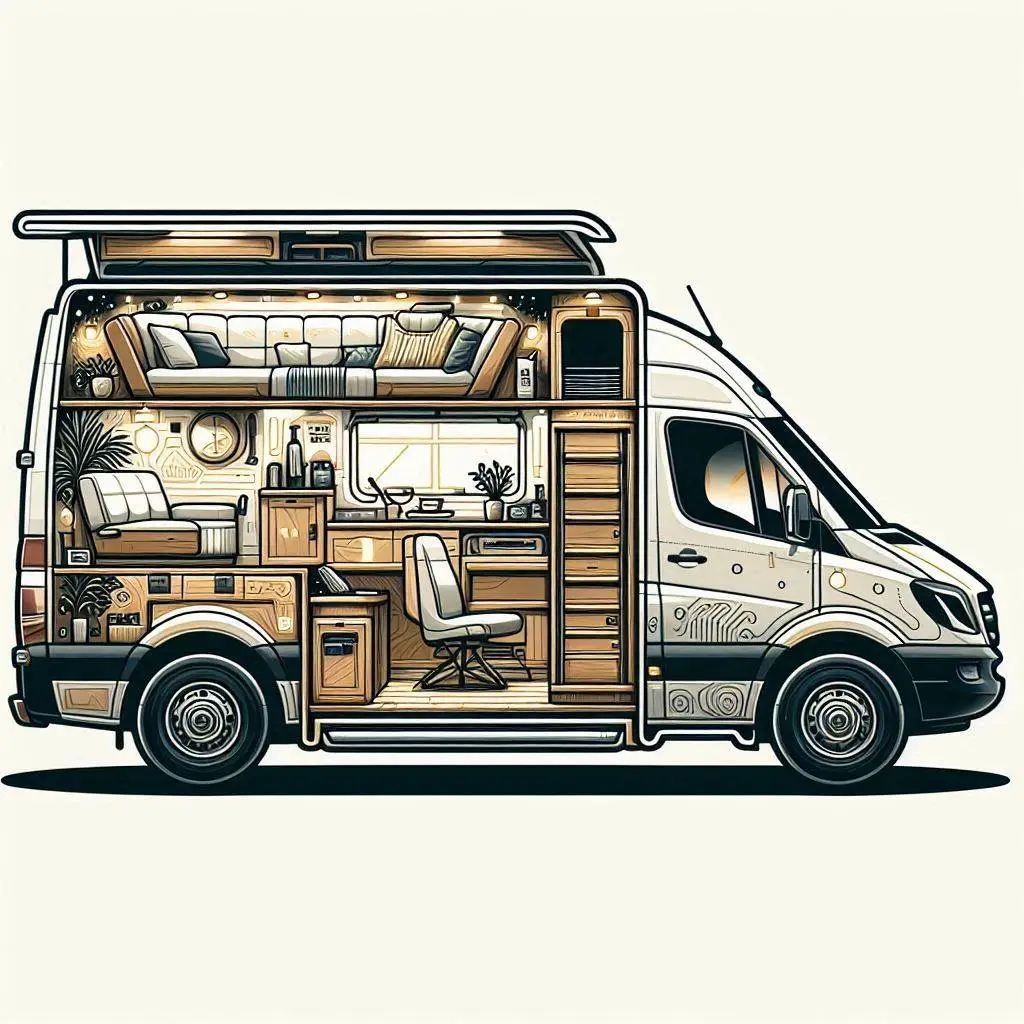
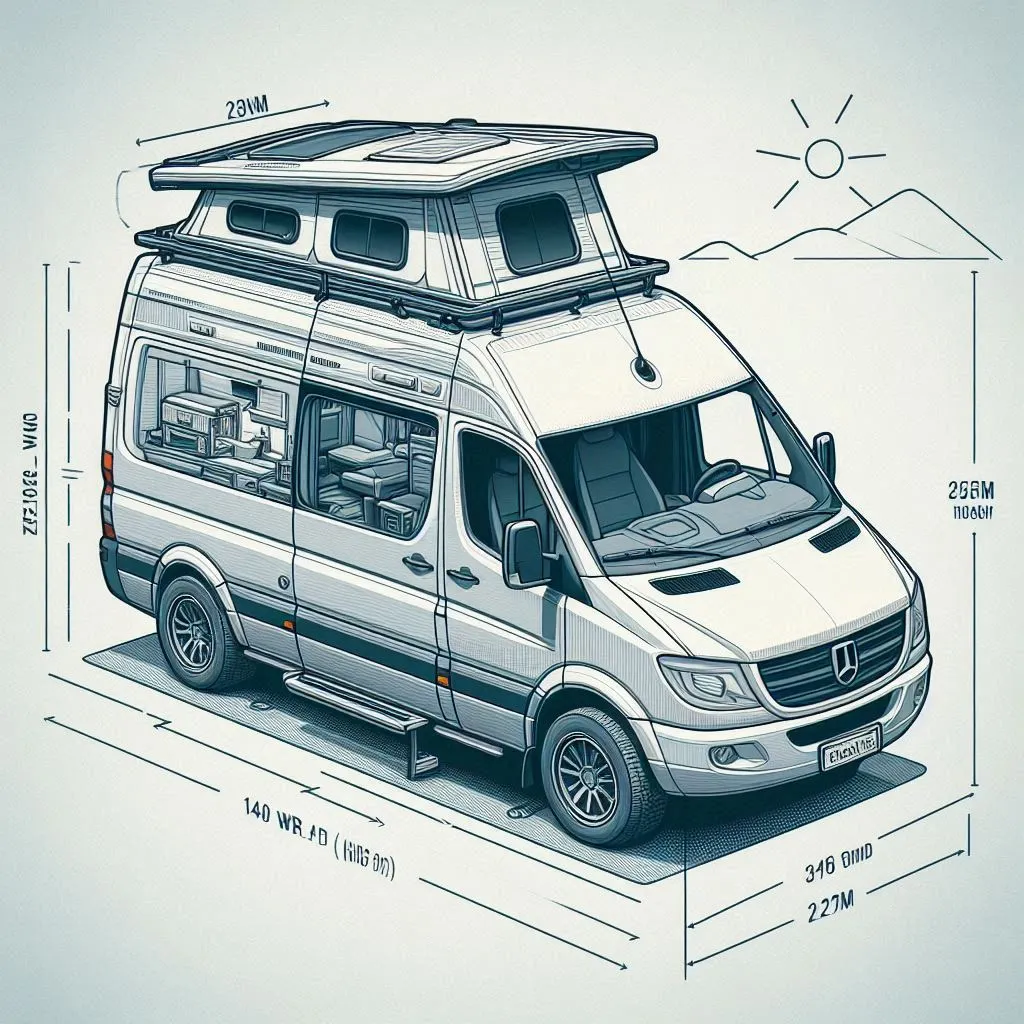
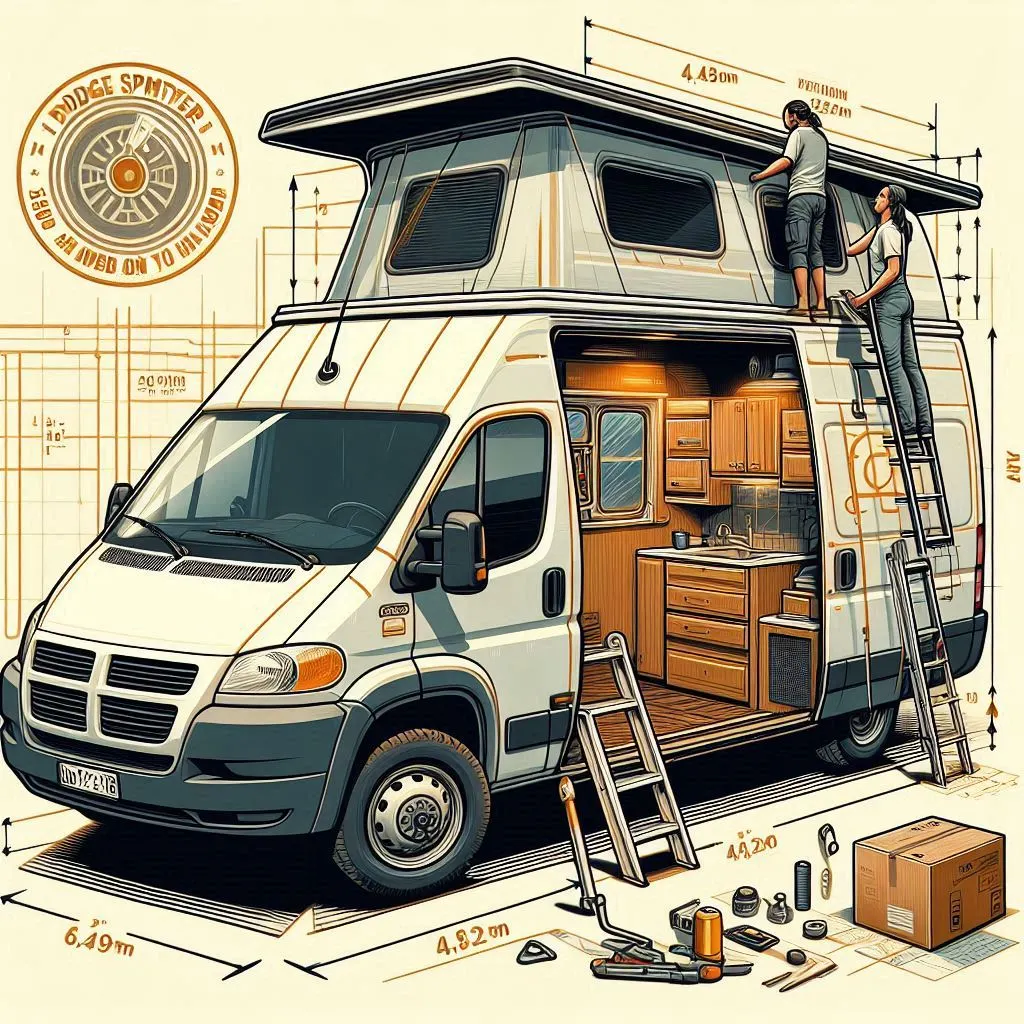

Table of Contents
Understanding the 2004 Dodge Sprinter 2500 140WB High Roof
Why Choose the 140WB High Roof for Camper Conversion?
Planning Your Camper Van Layout: Key Considerations
Step-by-Step Guide to Building Your Camper Van Layout
Case Studies: Successful Camper Van Layouts
Tips for Maximizing Space and Comfort
Conclusion
FAQs
1. Understanding the 2004 Dodge Sprinter 2500 140WB High Roof
The 2004 Dodge Sprinter 2500 140WB High Roof is a versatile vehicle known for its spacious interior and high roof, making it a popular choice for camper van conversions. With a wheelbase of 140 inches and a high roof design, it provides ample headroom and cargo space, which is crucial for creating a comfortable living area.
Dimensions and Features:
Wheelbase: 140 inches
Interior Height: Approximately 6 feet 4 inches
Length: Around 18.5 feet
Payload Capacity: Approximately 3,000 lbs
Notable Features: High roof, rear-wheel drive, durable build
2. Why Choose the 140WB High Roof for Camper Conversion?
The 2004 Dodge Sprinter 2500 140WB High Roof is ideal for camper conversions due to its balance of size, maneuverability, and internal space. Here’s why it stands out:
Ample Headroom: The high roof allows most people to stand comfortably, which is a significant advantage for daily living activities.
Compact Exterior Dimensions: Despite its spacious interior, the van’s exterior dimensions make it easy to park and drive, even in urban environments.
Efficient Fuel Economy: Compared to other large vans, the Sprinter offers relatively good fuel economy, which is crucial for long road trips.
3. Planning Your Camper Van Layout: Key Considerations
Before diving into the build, it’s essential to plan your layout carefully. Consider the following factors to ensure a functional and comfortable space:
Define Your Needs and Priorities:
Sleeping Area: Decide if you need a fixed bed or a convertible setup.
Kitchen Space: Will you need a full kitchenette, or is a portable stove sufficient?
Storage: Plan for both accessible and hidden storage for your belongings and gear.
Bathroom Facilities: Consider if you want a built-in bathroom or a portable toilet and shower solution.
Think About Workflow and Movement:
Arrange the layout to allow easy movement between different areas of the van.
Ensure that frequently used items are easily accessible.
Weight Distribution: Balance the weight throughout the van to ensure safe driving and handling.
4. Step-by-Step Guide to Building Your Camper Van Layout
Step 1: Measure and Sketch Your Layout
Start by measuring the interior dimensions of your van. Sketch a rough layout on paper or use software like SketchUp for a more detailed plan. Mark out key areas: bed, kitchen, storage, and seating.
Step 2: Insulate and Prepare the Interior
Proper insulation is crucial for comfort and energy efficiency. Use materials like foam board or spray foam to insulate walls, ceiling, and floor. Install vapor barriers to prevent moisture buildup.
Step 3: Install Flooring and Wall Panels
Choose durable flooring material like vinyl or laminate, which is easy to clean and resistant to moisture. For walls, consider lightweight plywood or PVC panels that are easy to maintain.
Step 4: Build the Bed and Seating Area
Fixed Bed: This is ideal for those who prioritize a permanent sleeping space. It can be built on a platform with storage underneath.
Convertible Bed: For more flexible space use, a convertible bed that doubles as a seating area during the day can be beneficial.
Step 5: Construct the Kitchen and Storage Areas
Kitchenette: Include a countertop, sink with a water pump system, and a stove or portable cooker. Ensure you have adequate storage for utensils and supplies.
Overhead and Under-Bed Storage: Utilize overhead cabinets and under-bed storage to maximize space without cluttering the interior.
Step 6: Install Electrical and Plumbing Systems
Electrical Setup: Install a battery system with solar panels or a charging system connected to the van’s engine. This powers lights, appliances, and any other electrical needs.
Plumbing: For a basic water system, install a freshwater tank, grey water tank, and a water pump. A portable or fixed toilet can be added based on your needs.
Step 7: Final Touches and Customization
Add personal touches such as curtains, cushions, lighting, and décor that reflect your style. Ensure all systems are functional and perform a test run before embarking on a long trip.
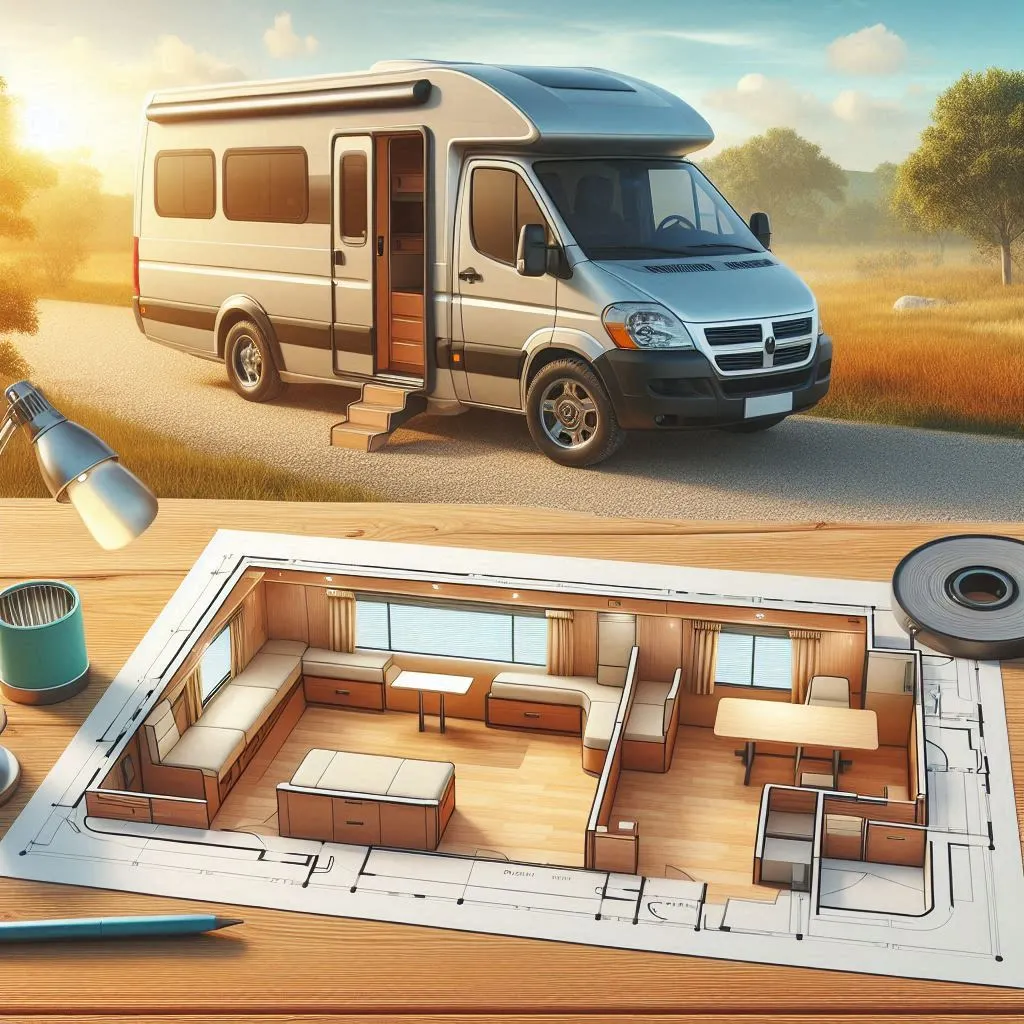
5. Case Studies: Successful Camper Van Layouts
Case Study 1: The Minimalist Traveler
Layout: A fixed bed at the back with a small kitchenette and a portable toilet.
Features: Overhead storage, foldable table, and minimalistic design for solo travelers who prioritize simplicity and efficiency.
Case Study 2: The Family Adventurer
Layout: Convertible seating area that transforms into a large bed, with a bunk bed for kids.
Features: Full kitchenette, portable shower, plenty of storage, and a separate dining area.
6. Tips for Maximizing Space and Comfort
Use Multi-functional Furniture: Furniture that serves multiple purposes, such as benches that double as storage, helps save space.
Install a Roof Vent and Windows: Proper ventilation and natural light make the van more livable and reduce the need for artificial lighting.
Opt for Lightweight Materials: Using lightweight materials for construction helps keep the van’s weight manageable and improves fuel efficiency.


7. Conclusion
Designing a camper van layout for your 2004 Dodge Sprinter 2500 140WB High Roof can be a rewarding experience, offering the freedom to travel and explore comfortably. By carefully planning your layout and using space efficiently, you can create a home on wheels that meets your needs and preferences.
8. FAQs
Q1: What is the best insulation for a 2004 Dodge Sprinter camper conversion?
A1: Foam board insulation is popular due to its high R-value and moisture resistance. Reflective insulation, combined with a vapor barrier, is also effective for temperature control.
Q2: Can I install a shower in a 2004 Dodge Sprinter 2500 140WB High Roof?
A2: Yes, you can install a compact shower, but it will take up valuable space. Consider a portable shower setup or an outdoor shower for more flexibility.
Q3: How do I power my appliances in the van?
A3: Install a solar panel system connected to a battery or use a split-charge relay system to charge batteries from the van’s alternator. This can power lights, a fridge, and other small appliances.
Ready to start your camper van conversion journey? Download our Free Camper Van Conversion Checklist and get started today!
Considering converting your van or need a new roof? Check out our Roofing San Francisco Services for expert solutions that enhance your vehicle's roof design or home’s exterior. Our experienced team provides high-quality roofing installations and repairs, ensuring durability and style tailored to your needs. Trust our services for reliable roofing craftsmanship in San Francisco.
#2004dodgesprinter2500140wbhighroofcampervanlayoutguide #CamperVanConversion #VanLife #DodgeSprinter #SprinterVanLife #VanBuild #DIYCamper #VanLifeIdeas #CamperVanLayout #SprinterConversion #TinyLiving #RoadTripReady #HomeOnWheels #AdventureVan #VanLifeCommunity #CamperConversion #CommonRoofPitch

Comments